Shadow Backup USB Stick
You can only follow these steps if you have been provided with a Shadow Backup USB stick. It has a 500 MB Clonezilla partition and a several GB for Clonezilla disk images. These can be used to restore any Shadow-provided laptop(s) and/or NUC(s) to their exact configuration (it’s a full disk image restore) after the delivery was tested in Shadow’s offices but before it was shipped to the customer.
Doing this means losing all the data on the laptop(s) and/or NUC(s) since the original shipment of the equipment from Shadow. Please back up your data to an external device before restoring any Shadow backups
If you a restoring a laptop backup, you only need the Shadow backup USB stick.
If you are restoring a NUC backup, you will need additional equipment (not provided by Shadow): A monitor with HDMI connector, an HDMI cable and a USB keyboard.
The steps for restoring a NUC with Shadow Backup USB stick are the same as for laptop, but you have to choose a different image to restore from the relevant list in the Clonezilla process.
You don’t have to restore both NUC and laptop. You can choose to restore just 1 of them.
Clonezilla backup restore steps
Connect the Shadow USB stick to the device you want to restore
Power on the device while tapping F7 and F8 on the keyboard. A blue dialog box will appear asking you which disk to boot from (if this doesn’t work, try tapping F2/F12 and accessing the boot menu/boot override via BIOS): select the Shadow backup USB 500 MB Clonezilla partition (it might show up as a SanDisk device, or a similar brand matching the model of the USB stick)
A Clonezilla window will appear
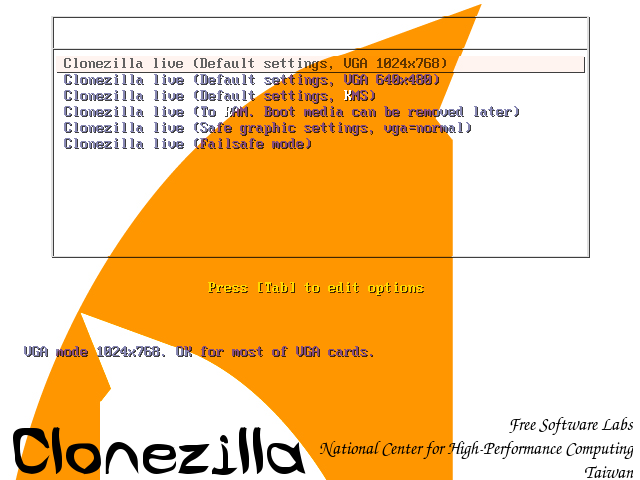
Select Clonezilla live (Default settings, VGA 1024x768)
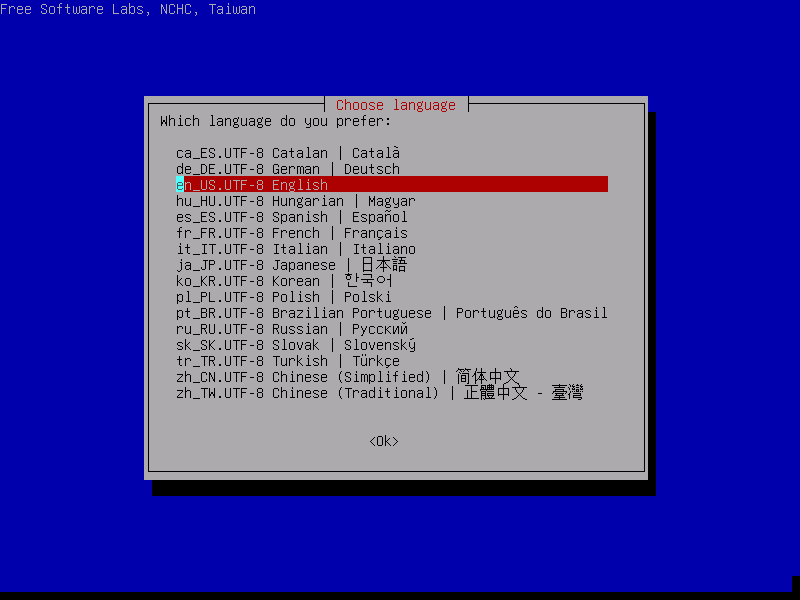
In the next menu, select English for the language: (just press Enter)
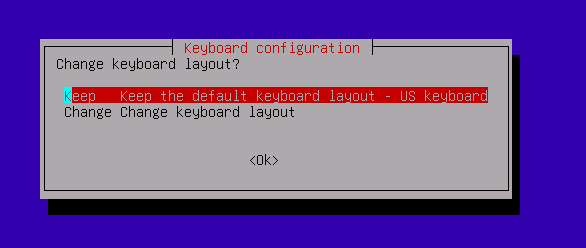
In the next screen, the default keyboard layout is US keyboard, and it’s fine for our purposes here, so just press Enter
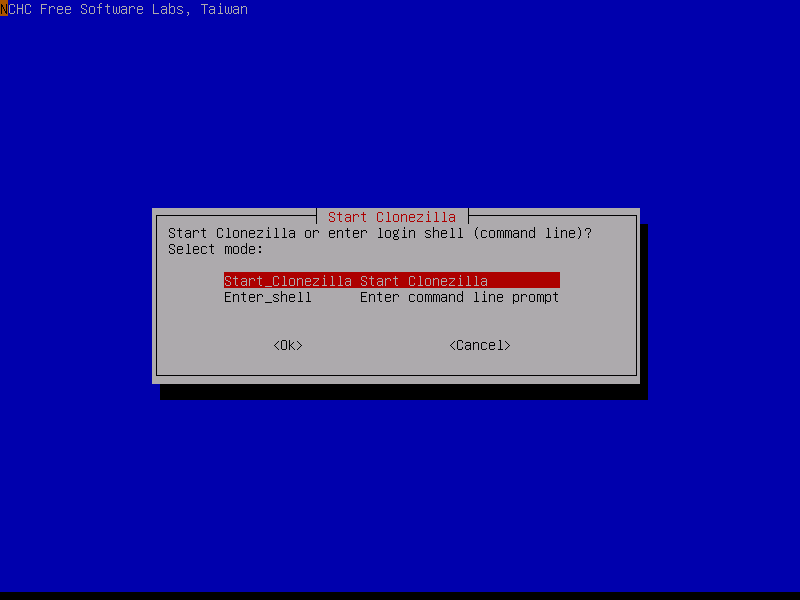
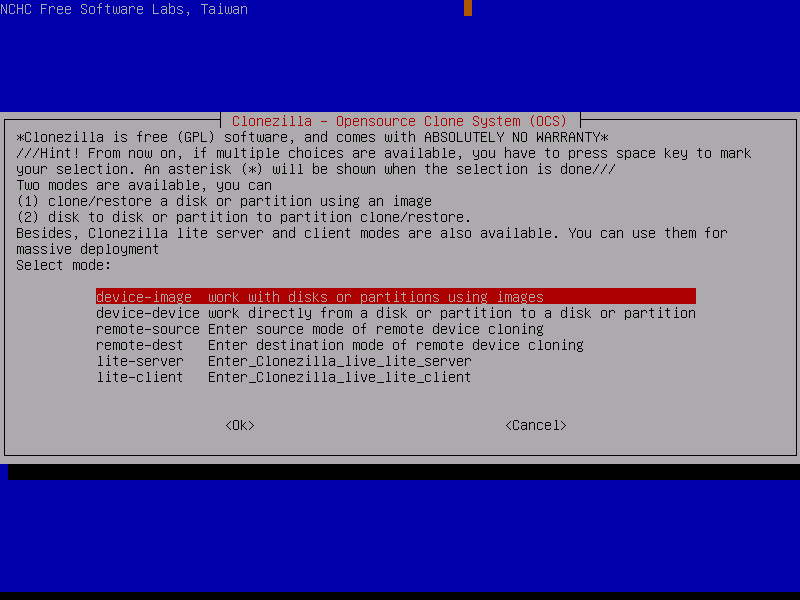
Select Start Clonezilla
Choose device-image
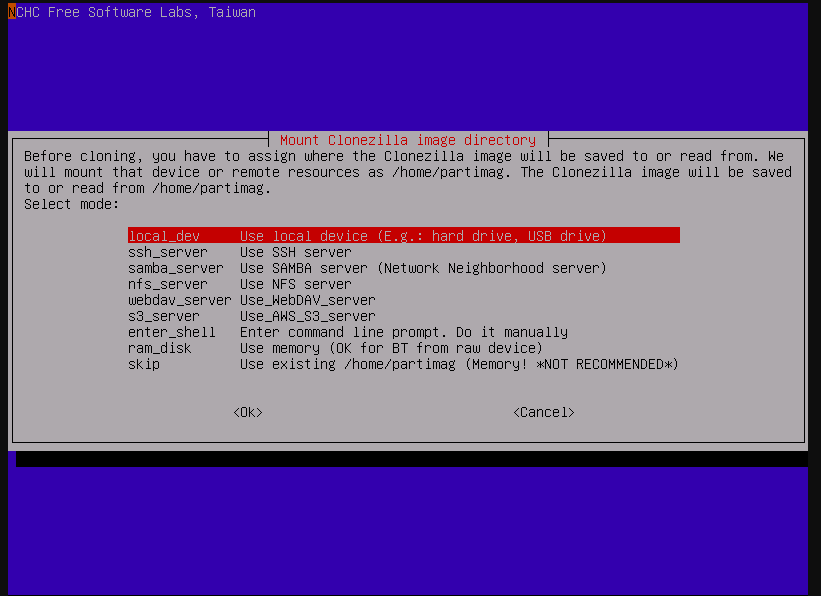
Choose local device:
Press enter when you see this screen:
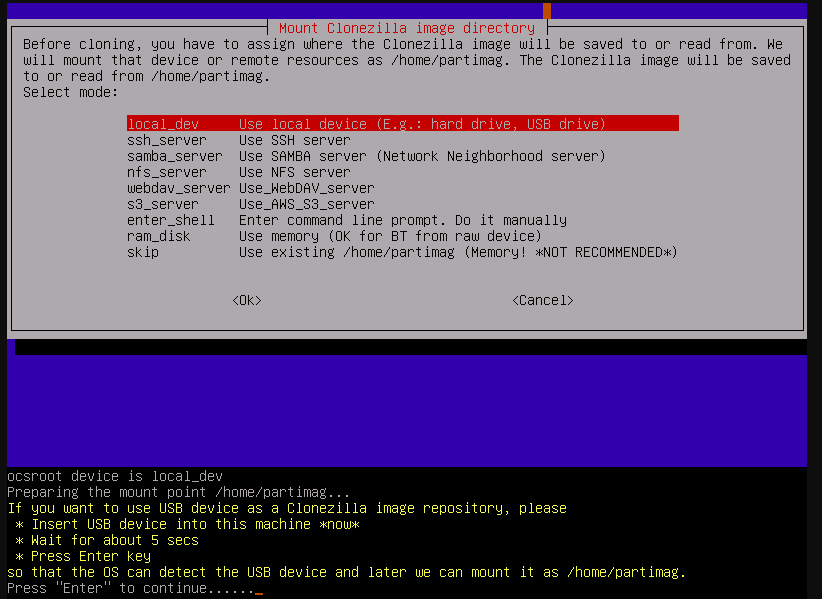
If the disk you are backing up from appears in the list on this screen press Ctrl+C otherwise reconnect the drive and wait 30secs for it to appear in the list.
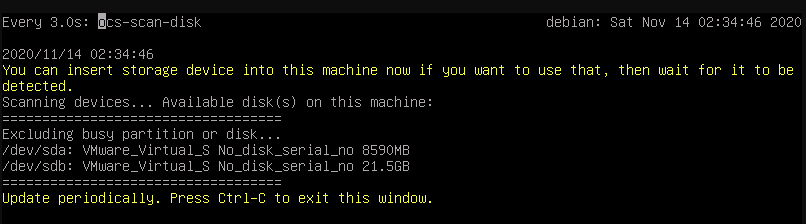
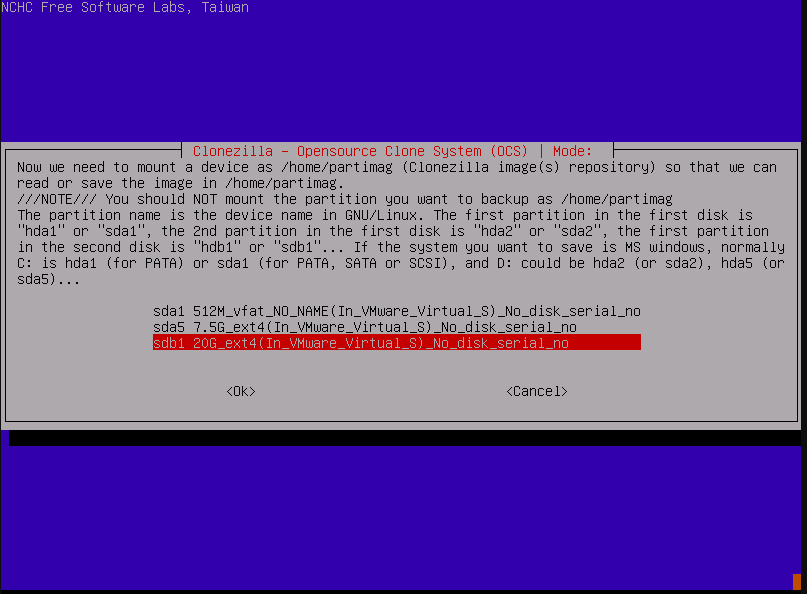
You should see a disk menu like this (not the exact image), but you need to select your Shadow Backup USB stick large partition with several GB (where the disk images are) (it might show up as a SanDisk device, or a similar brand matching the model of the USB stick, but with several GB of space)
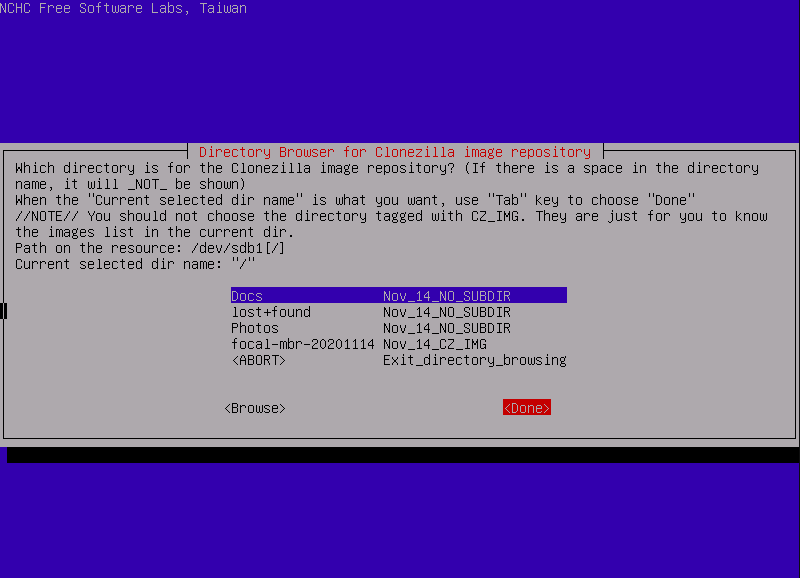
In the folder selection screen below you should see 2 folders for the clonezilla images for NUC and laptop, don’t select them, just select Done
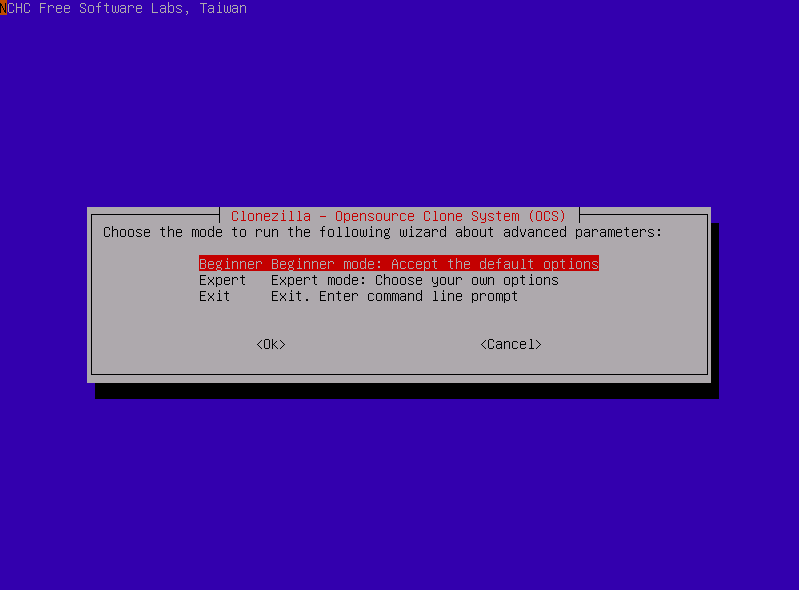
Choose Beginner mode
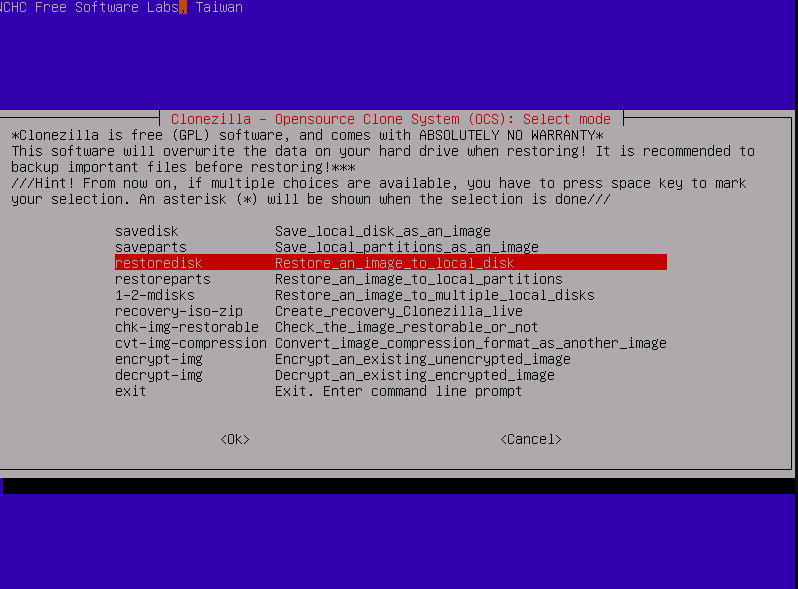
Choose restoredisk option
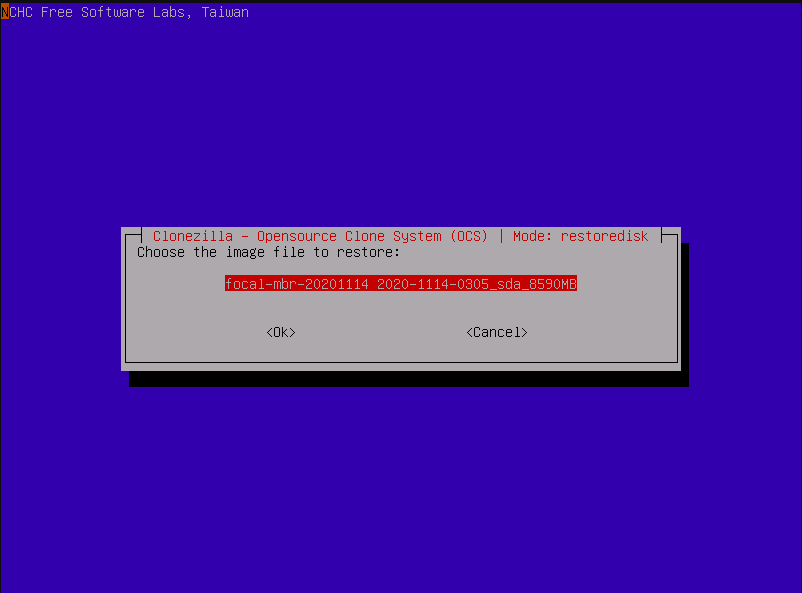
Now is the time to select whether you want to restore a NUC image or a laptop image. Depending on which device you have connected the Shadow backup USB stick to, select either the NUC image (may be labelled with your customer name and NUC or NUC-CONTROL and the size of the nuc’s internal disk) or the laptop image (may be labelled with your customer name and LAPTOP or SERVER and the size of the laptops internal disk).
Warning
PLEASE ENSURE YOU ARE RESTORING THE CORRECT IMAGE AT THIS POINT AS IT CAN DAMAGE THE DRIVE OR FAIL ENTIRELY
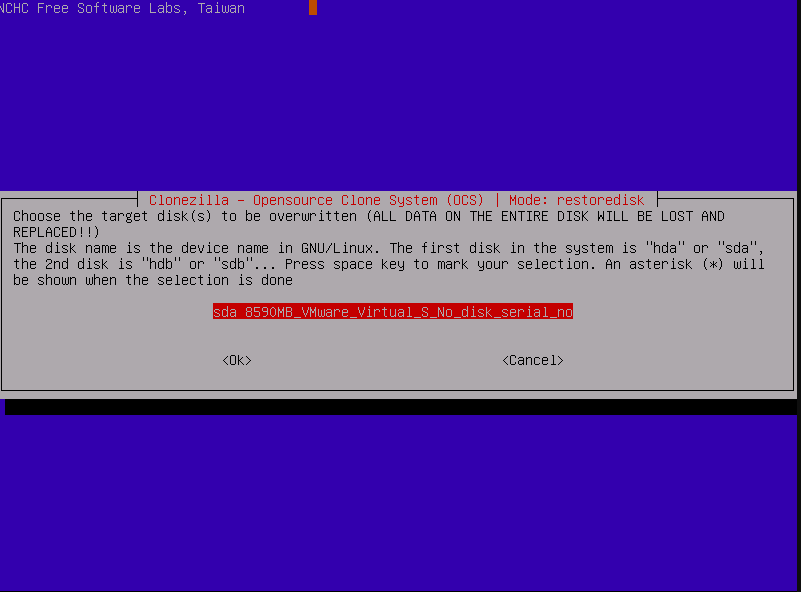
Just press enter on the destination disk:
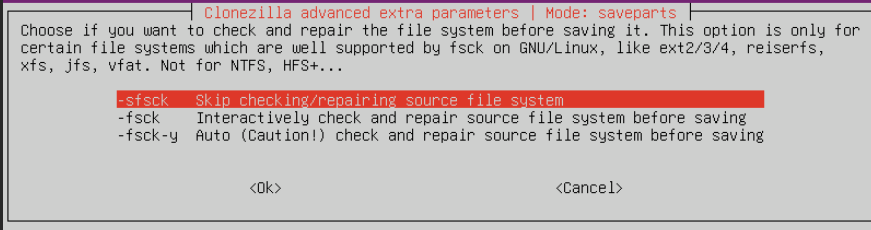
Select “No, skip checking the image before restoring”
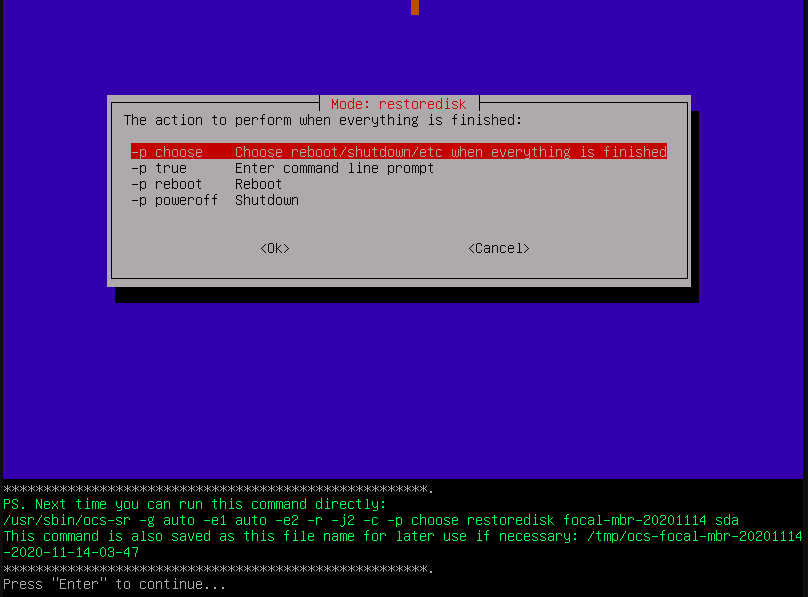
Select -p choose

Press enter:
There will be 2 prompts and you have to press y and press Enter to each of them
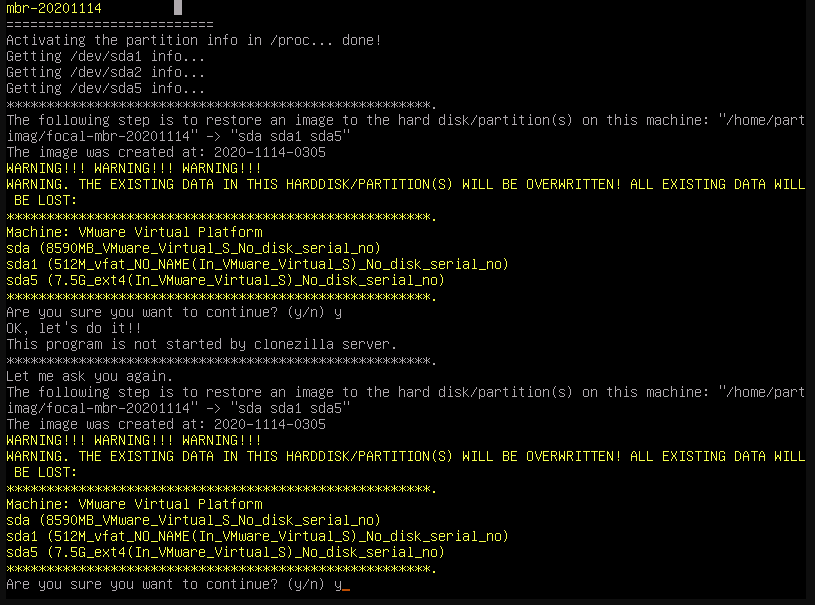
Clonezilla is now restoring the device image:
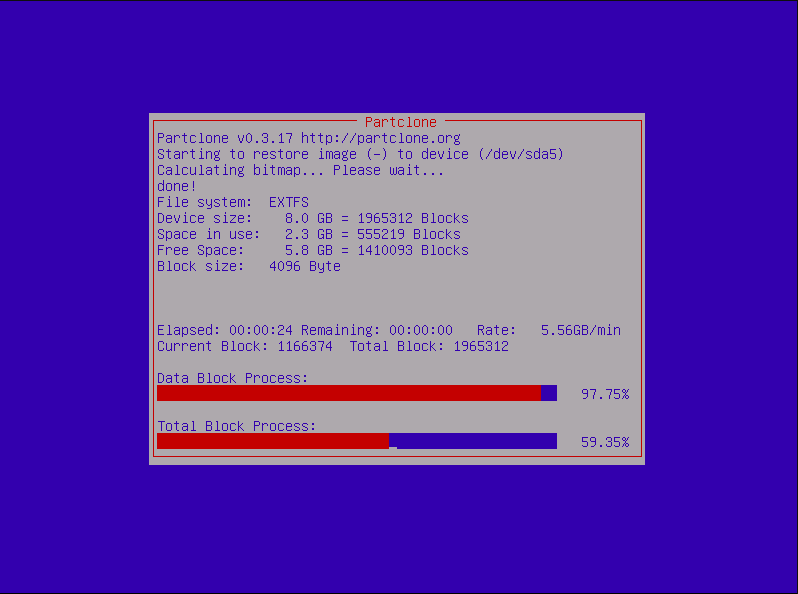
It should take about 20 minutes or less. When Clonezilla is done, press Enter:
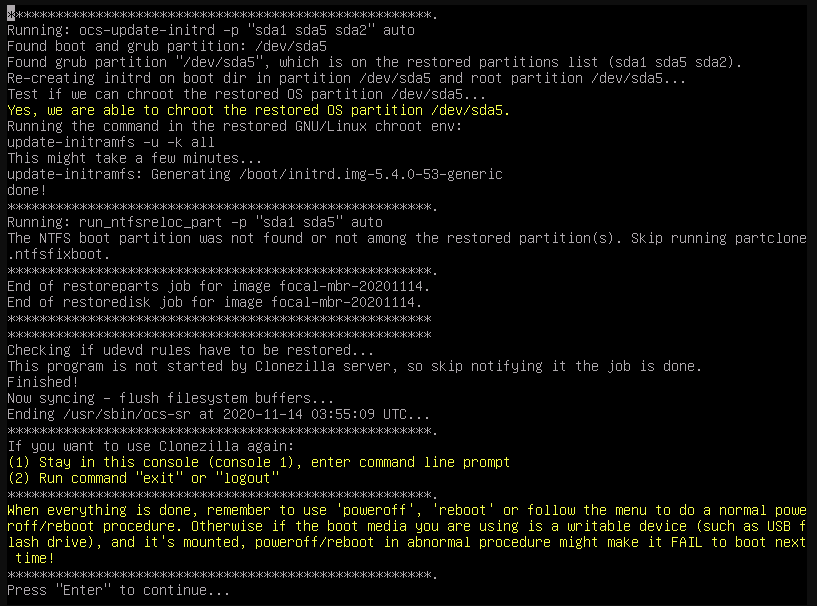
Choose poweroff

Unplug the Shadow Backup USB stick from the device
Power on the device. The device is now restored.